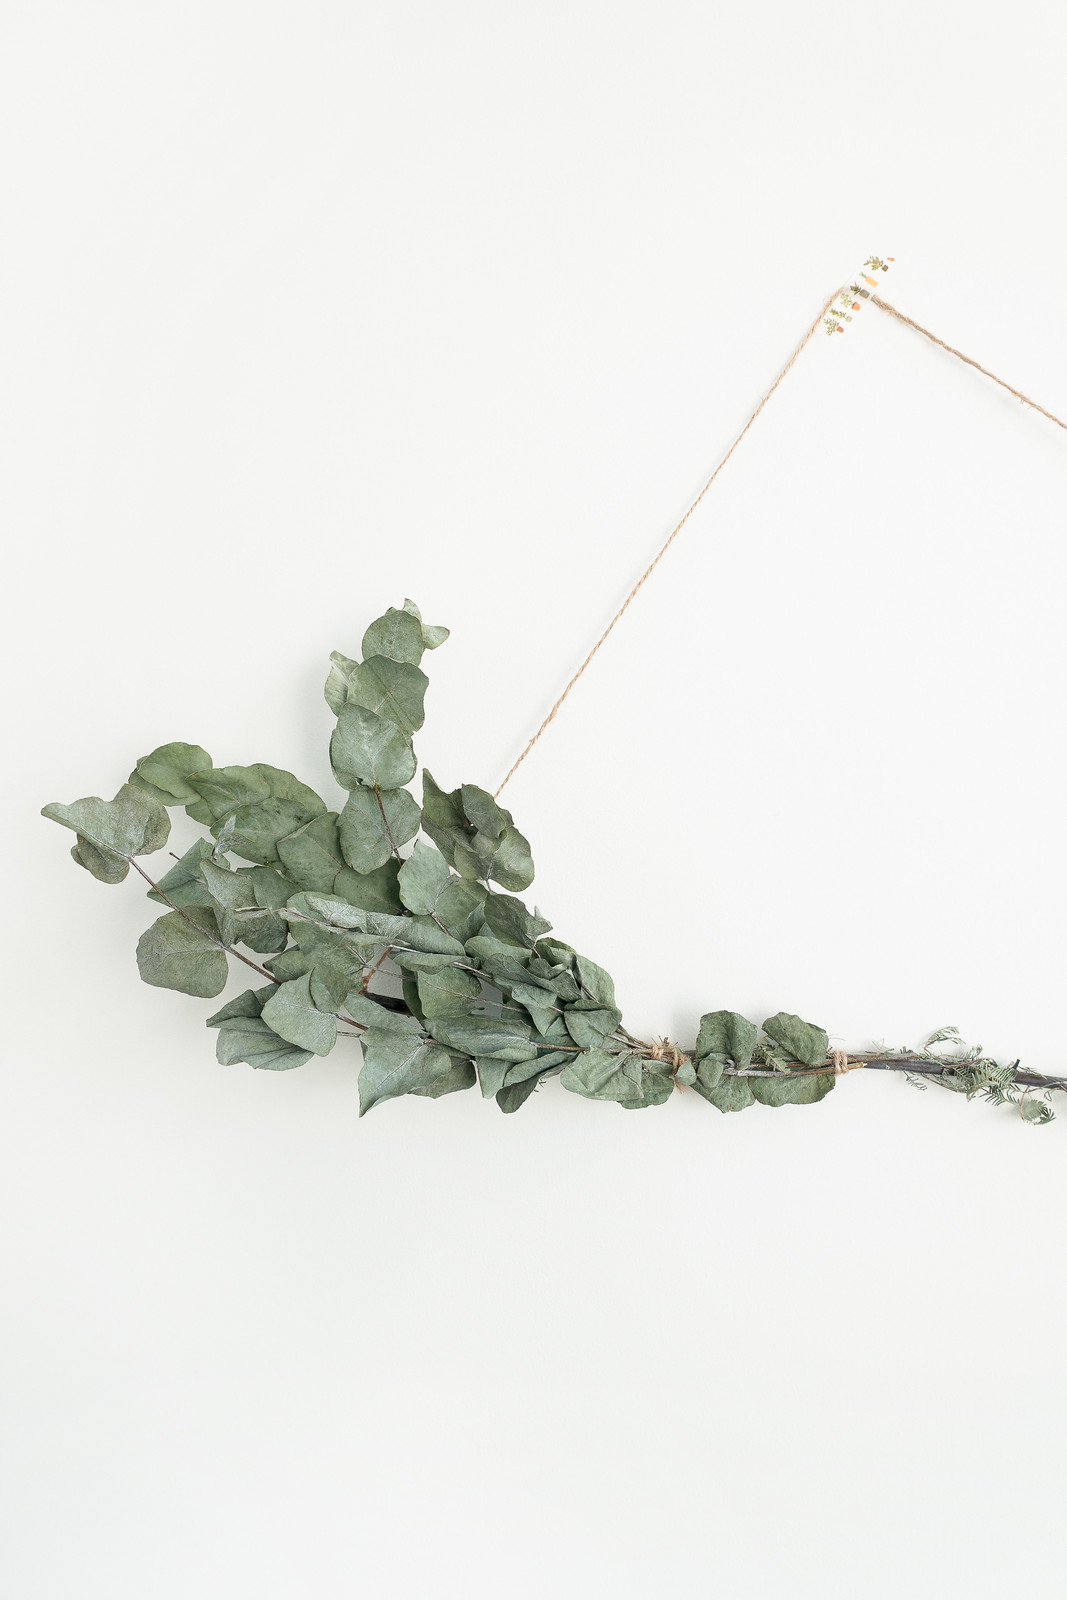
After making my own foraged wreath during the last festive season, I wanted to keep up the tradition and make more natural handmade decorations. This year, I've made a foraged wall hanging using dried foliage. Now you could forage for materials, just like with the wreath, or you can extend the life of your flowers and foliage by turning them into a wall hanging with very little effort and zero waste.
This DIY guide will show you how to make your own wall hanging from gathered materials, foraged or not. It's quick and easy, and doesn't cause any waste - unlike those plastic glitter-covered decorations you'll find in shops. The best thing about this wall hanging is (depending on the materials you use) it's not overly festive and can be kept up all year if you like. Alternatively, throw it all in the compost bin when the time for winter-inspired decorations is over.

Tools
• clippers, or sharp scissors
• dried foliage
• a branch or stick
• twine
You'll need sharp scissors to snip down a sizeable branch, which you'll need to hang your foliage from. I already had a suitable thick stem from which I could tie my foliage to. If you don't have one, forage for one in your garden, woody area, or local park. If you're foraging for foliage to feature on your wall hanging, look for seasonal plants to take cuttings from. Remember: don't trespass on private property and don't take too much.
If you're going to turn a wilting bouquet into a wall hanging, start by snipping back the flowers and foliage, and then hang them upside down to dry. This will ensure the stems dry straight, the flowers hold their shape, and the foliage dries a little flatter making them easier to work with.

Make The Wreath
Collect all your materials and get started. This DIY is all about keeping things simple so feel free to improvise with whatever materials you have. You can make the wall hanging as minimal as you want or go all out with a maximalist show-stopping display - do whatever you think looks good.
Once you've gathered your materials, start by tying a length of twine to either end of the stick to create a way of hanging the decoration and a base to tie the foliage too. Pull pieces of foliage together to create decorative springs. I went for a simple asymmetrical appearance, you may want a more symmetrical hanging. Either way, play around with the foliage you have to create an appealing display.
I found it easier to tie the bunches together first before attaching them to the hanging branch. This will make keeping smaller sprigs or large bunches of foliage together much easier and help them hold their shape when they're hung up. Lie the base flat and arrange your foliage along it until you have a composition you're happy with.
Once you're ready, start securing the foliage onto the branch base with twine being mindful of keeping the bunches facing in the right direction. This part can be fiddly and dried foliage is brittle so work slowly and be gentle. You can leave the branch bare like I did, or wrap it with twine for a more polished appearance.
When it's ready to hang, you can either hang it from a nail or hook or use a little strip of washi tape, which is usually enough to keep it in place. There's nothing fancy about this DIY foraged wall hanging but that's exactly what I love about it. It's easy to create and can be composted meaning you can decorate over the festive season with a little less waste.

